Affordable Lighting Setups for Small Streamers
When you think about streaming gear, chances are you imagine the flashy graphics, the killer headset, or the microphone that makes your voice sound like butter. But what if we told you that lighting is one of the most overlooked yet powerful tools in your arsenal?
Here’s the truth: even the best camera won’t save a poorly lit stream. If you’re sitting in a dim room or under harsh fluorescent lighting, your video will look grainy, lifeless, or downright unwatchable.
Don’t worry — you don’t need a Hollywood budget to shine on camera. This guide walks you through the best budget stream lighting options, from cheap ring lights to clever DIY hacks. By the end, you’ll know exactly how to create professional-looking lighting for gaming streams — without spending a fortune.
Why Good Lighting Matters for Streamers
First Impressions Count
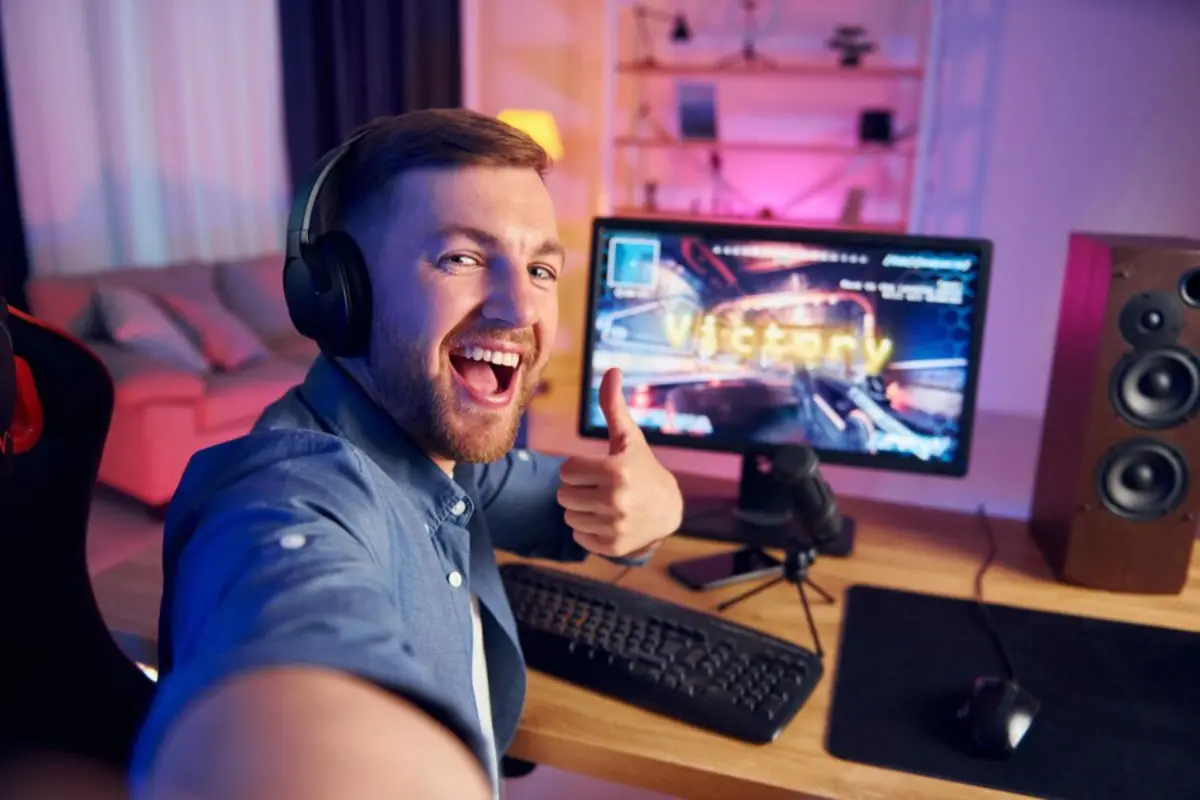
When new viewers click into your stream, they make a snap judgement. If they can’t see you clearly, they’re less likely to stick around — no matter how engaging you are.
Better Lighting = Better Camera Quality
Most budget webcams perform drastically better with good lighting. Even a £30 webcam can look close to HD with the right light setup.
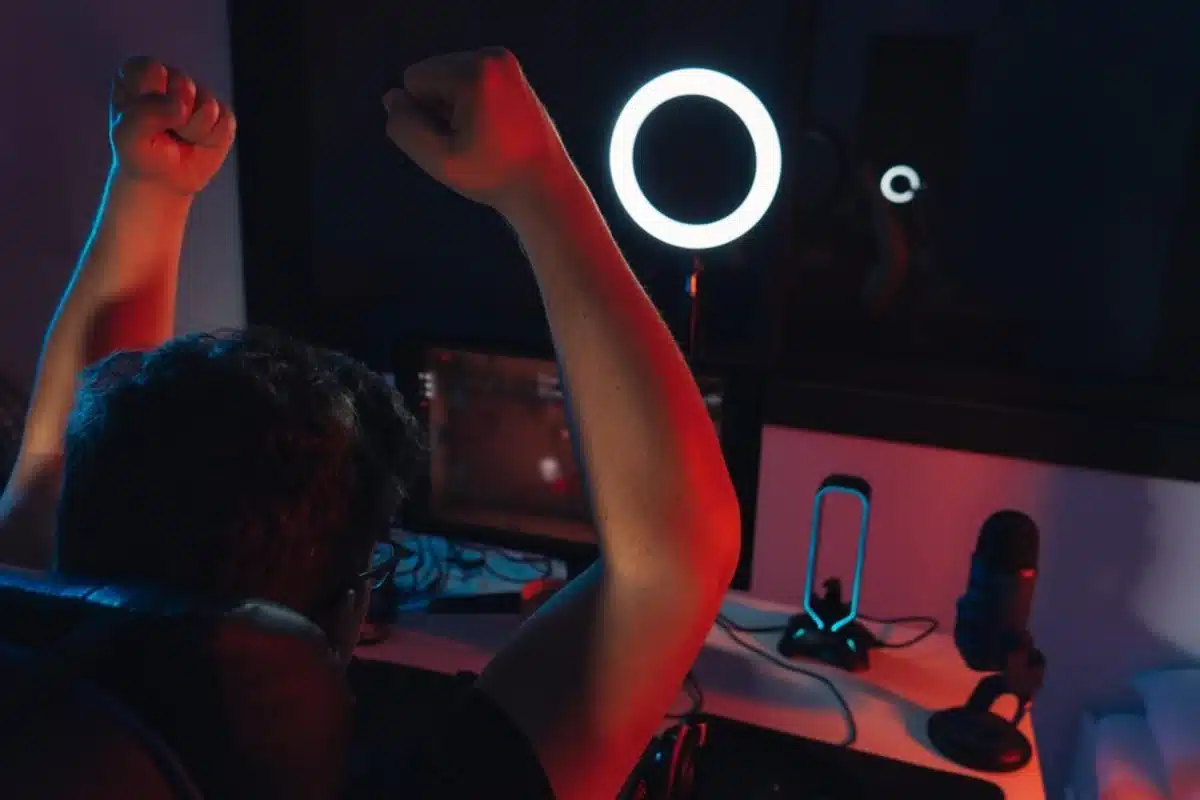
Sets the Mood and Builds Your Brand
Lighting isn’t just functional — it’s also aesthetic. The glow behind your chair, the accent on your face, the ambient vibe of your room — these all contribute to your stream’s visual identity.
Best Budget Lighting Options (Under £50)
Let’s look at options that fit the “small streamer” budget but still deliver impressive results.
1. Neewer Ring Light Kit (10″ USB)

- Price: ~£25–£30
- Type: Ring Light
- Brightness Levels: 3 colours, 10 brightness levels
- Why It Works: Simple, versatile, and compact — the go-to for many beginner streamers.
Pros:
- USB-powered, easy to use with PCs
- Tripod included
- Soft, flattering light for face shots
Cons:
- May struggle to fully light larger rooms
- Phone holder not always needed
Perfect for: Desk setups and webcam streamers.
2. VILTROX L116T LED Panel
- Price: ~£40–£45
- Type: Flat LED Panel
- Colour Temp: Adjustable 3300K–5600K
- Why It Works: Offers more control and power than a ring light. Looks pro on camera.
Pros:
- Adjustable temperature and brightness
- Compact but powerful
- Mounts easily to tripods or arms
Cons:
- Battery not included (unless you use mains)
- One light may not be enough for bigger spaces
Perfect for: Streamers who want control and versatility.
3. UBeesize Selfie Ring Light with Stand
- Price: ~£20–£25
- Type: Ring Light
- Features: Includes stand and Bluetooth remote
- Why It Works: Super affordable and very beginner-friendly.
Pros:
- Tall, adjustable tripod
- Lightweight and portable
- Great for dual-purpose use (streaming + phone content)
Cons:
- Build quality is entry-level
- Doesn’t flood wide spaces
Perfect for: Budget-conscious variety streamers.
4. Govee RGBIC LED Strip Lights
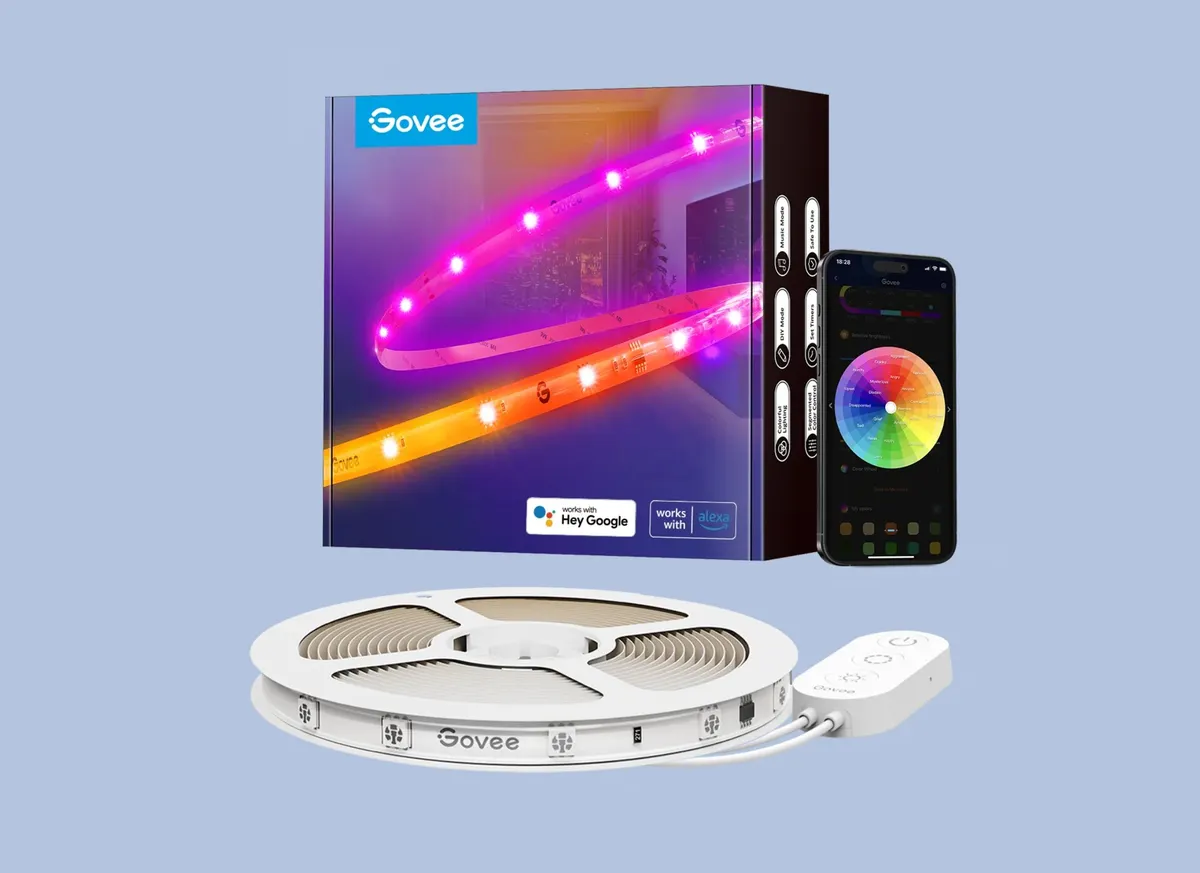
- Price: ~£30
- Type: Ambient RGB Lighting
- Why It Works: Adds colourful flair and personal branding to your background.
Pros:
- Customisable colours and effects
- Syncs with music or stream scenes
- Enhances room depth and personality
Cons:
- Not for face lighting
- Needs USB power or adapter.
Perfect for: Adding mood and ambience to your stream background.
Pro Lighting Techniques for Small Streamers
Even with budget gear, your placement and setup matter. Here’s how to get the best out of your lights.
The 3-Point Lighting Setup (Simplified)
You don’t need studio gear to use this pro method. Just mimic the principle.
- Key Light – Main source (use your ring light or LED panel)
- Fill Light – Softens shadows (another light or even a desk lamp with tissue diffuser)
- Back Light – Adds depth and separates you from the background (RGB strip or lamp)
Pro Tip: If you only have one light, place it at a 45° angle to your face. Avoid shining it directly from below or above.
Natural Light: The Forgotten Hero
If you stream during the day, use natural window light! Position yourself facing the window, not with your back to it.
Combine it with a ring light for balance and consistency. Free + effective = win-win.
DIY Lighting Hacks for Zero-Budget Streamers
Still saving for that £25 ring light? We’ve got you covered.
Use a White Monitor Background
Set your screen to a white webpage or Word doc and crank the brightness. Boom — instant soft light source.
Cardboard Diffuser
Wrap a cheap LED bulb with baking paper or frosted plastic on a box frame. It creates a soft glow instead of harsh beams.
Desk Lamps with Filters
Add coloured transparent folders or cellophane to change the mood. Combine warm and cool tones for depth.
Safety Tip: Never let paper or plastic touch hot bulbs. Keep filters well away from heat sources.
Mounting and Positioning Tips
How you place your lights can make or break the look. Follow these for optimal results.
Height and Angle
- Key light at eye level or slightly above
- Avoid “underlighting” (it’s spooky!)
- Tilt away slightly to avoid reflections on glasses
Distance
- 1 to 2 feet from your face is usually ideal
- Too close = harsh shadows
- Too far = washed-out lighting
Related Reads to Complete Your Budget Setup
Want to match your new lighting with the rest of your gear? Check out.
- Best Budget Microphones for Streamers
- Top 5 Budget Capture Cards for Streamers
You’ll find plenty of streaming gear deals and tricks to boost your setup affordably.
Streamer Stories: Real Setup, Real Talk
Case Study: Lisa, Twitch Variety Streamer, UK
Lisa started streaming Animal Crossing during lockdown with just a basic webcam and a bedroom lamp. Her lighting was inconsistent and gave her weird shadows on stream.
She spent £30 on a ring light and added £10 LED strips behind her gaming chair. The result?
“People instantly noticed the change — I got comments like ‘wow, your stream looks so pro now!’ and I didn’t even upgrade my camera!”
Your journey doesn’t need to start with perfection — just progress.
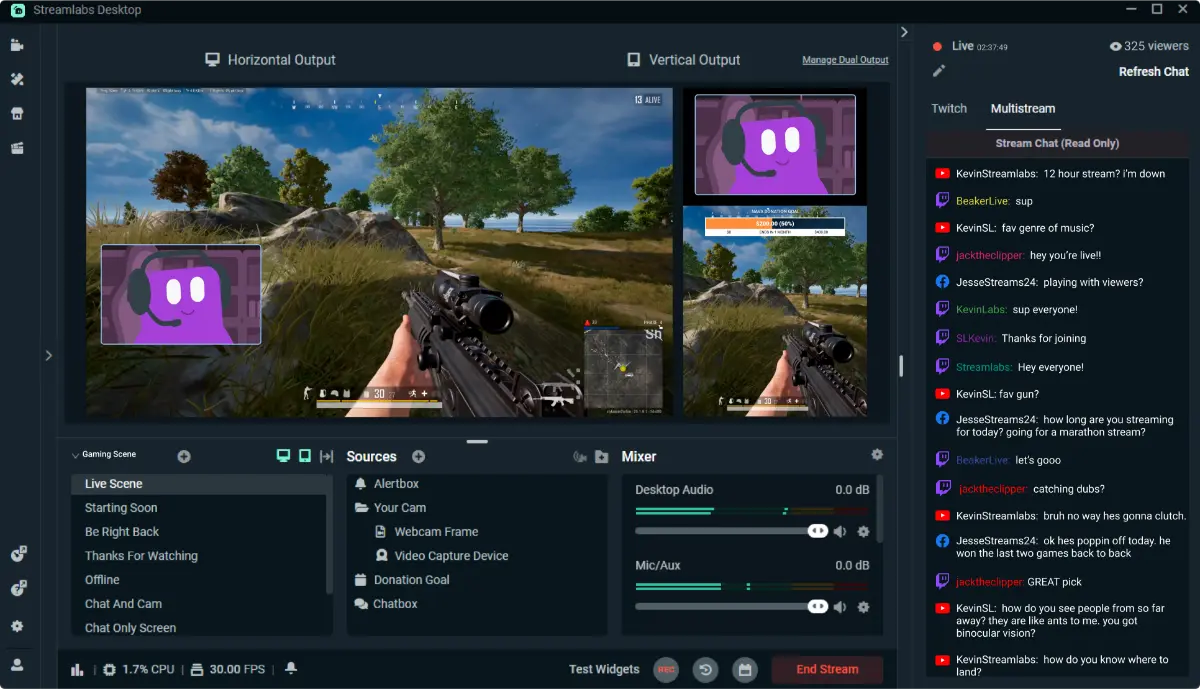
Lighting and Software Integration
If you’re using OBS or Streamlabs, your lighting setup plays a huge role in scene clarity.
OBS Filters + Lighting = Fire
Better lighting reduces the need for heavy contrast or exposure filters in OBS
- Keeps your stream from looking artificial
- Lowers system load
- Enhances clarity during darker game scenes
Common Mistakes and How to Avoid Them
Mistake #1: Backlighting Only
Your face becomes a silhouette. Use a front-facing light too.
Mistake #2: Too Bright
Overexposure can make your face look blown out. Adjust intensity or use diffusion.
Mistake #3: Lighting from Below
This causes unflattering shadows (hello, horror movie face). Always light from above or eye level.
Bonus: Lighting by Stream Type
| Stream Type | Best Lighting Combo | Notes |
| Facecam / IRL | Ring Light + LED Panel | Focus on warm, flattering light |
| Just Chatting | Ring Light + RGB Strip | Add ambience to match chat mood |
| Game Streams | LED Panel + Back RGB | Focus on clear face visibility |
| Art/Creative | Overhead LED + Softbox | Highlight hands and canvas |
Lighting That Works as Hard as You Do

You don’t need studio kits or £300 softboxes to look fantastic on stream. With the right budget stream lighting, strategic placement, and a little creativity, you can glow like a pro from your bedroom, loft, or even a shared flat corner.
Whether it’s a £25 ring light or a DIY desk lamp diffuser, lighting transforms how viewers see you — and how seriously they take your content.
Your Turn: Light Up the Chat!
Have you discovered a lighting hack that worked wonders? Thinking of grabbing one of the lights from this list?
Drop your experience in the comments — we’d love to hear how you made your stream shine! Share this guide with a friend or fellow streamer on a budget! Check back soon for more affordable gear guides tailored for rising creators.