Best Plugins to Improve Your Stream Quality
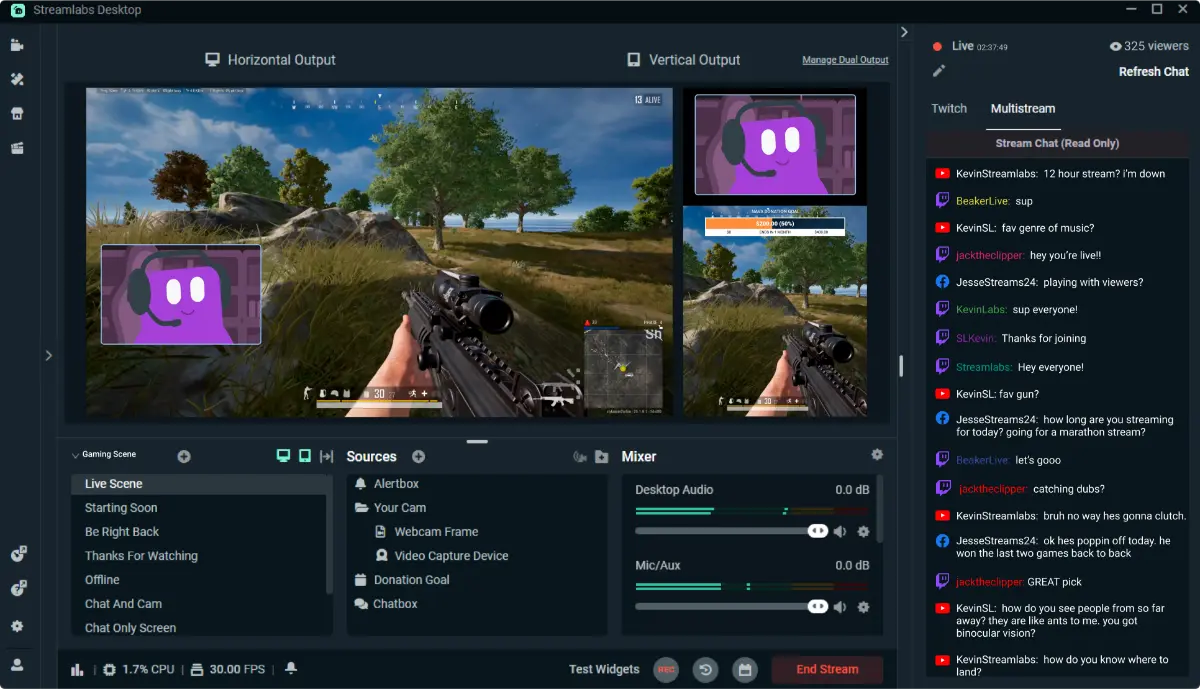
You’ve set up OBS Studio. Your webcam is at the right angle. Your mic finally sounds clear. But still, something feels missing — that extra bit of polish that makes your stream look and sound professional.
Good news! You don’t need expensive gear or fancy software to improve your stream. The key is using the right tools, especially OBS plugins. These small add-ons help you get more from OBS and make your stream better.
In this post, we’ll show you some of the best free OBS plugins. These tools will help you improve your video and audio, add cool effects, and even automate parts of your stream. We’ll explain what each plugin does, how it helps, and give you examples.
What Are OBS Plugins?
OBS plugins are small add-ons that make OBS Studio do more than it can on its own. They add new features and tools to your streaming setup.
Plugins can
- Improve your video and audio quality
- Add cool effects and animations
- Show chat or music info on screen
- Automate scene switching
- Add live captions for accessibility
Most OBS plugins are free and made by a community of streamers and developers. They help you get professional results without spending money.
Best OBS Plugins to Boost Your Stream Quality
1. StreamFX

StreamFX adds many effects like blur, glow, and 3D transformations.
Why use it? It helps make your webcam or game capture look sharper and more cinematic. You can add glowing borders or blur backgrounds to make your video pop. It also lets you create smooth scene transitions that look professional.
2. OBS Shaderfilter Plus
This plugin lets you add custom visual effects to any part of your stream.
Why use it? It’s perfect for adding unique color effects or styles. Many streamers who want a creative or artistic look use it. It helps your stream stand out with special effects not found in regular OBS.
3. OBS-VirtualCam
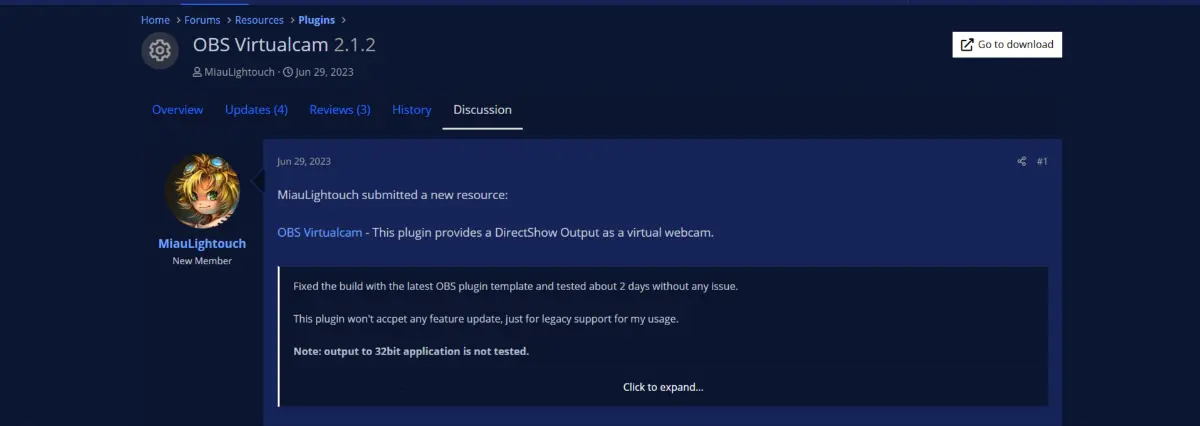
This turns your OBS stream into a virtual webcam you can use in Zoom, Discord, or Teams.
Why use it? If you do meetings or podcasts, you can show your full stream setup with overlays and transitions. It makes you look more professional anywhere you appear on video.
Get it: Included in OBS version 26+ on Windows
4. Tuna (Now Playing Info)
Tuna shows the name of the song playing on Spotify or other music apps on your stream.
Why use it? It makes your stream feel more lively and professional, especially if you play music. Viewers can see what you’re listening to and enjoy a better experience.
5. Move Transition
This plugin makes scene changes smooth by animating your webcam or game window moving from one place to another.
Why use it? Instead of a sudden cut, your camera or game can slide across the screen. This makes your stream look more polished and fun to watch.
6. Advanced Scene Switcher
This plugin lets you set rules to switch scenes automatically.
Why use it? You can have your stream change scenes when you open a game, go idle, or after a certain time. For example, it can show a “Be Right Back” screen if you step away.
This helps make your stream smoother and easier to manage.
7. Closed Captioning Plugin
This plugin adds live subtitles to your stream using Google’s speech recognition.
Why use it? Captions help people who are deaf or hard of hearing follow along. They also help non-native speakers and make your videos easier to find later.
Adding captions shows you care about your audience and want to include everyone.
8. Input Overlay
This plugin shows your keyboard or controller inputs live on screen.
Why use it? If you do tutorials or competitive gaming, this helps viewers see exactly what buttons you press. It makes learning easier and your stream more engaging.
9. Spectralizer
Spectralizer turns your audio into colorful visual bars that react to sound.
Why use it? If you stream music or podcasts, it adds fun visual effects that move with your audio. You can change colors and styles to match your stream look.
10. Downstream Keyer (DSK)
DSK lets you add professional-looking overlays like lower thirds, tickers, and banners.
Why use it? If you want your stream to look like a news show or esports event, this plugin gives you control over where and how your overlays appear.
It helps your stream look more official and polished.
How to Install OBS Plugins
Installing plugins is easy
- Download the plugin files from their website or GitHub.
- Extract the files if needed.
- Copy them to your OBS plugins folder:
- Windows:
C:\Program Files\obs-studio\obs-plugins\ - Mac:
~/Library/Application Support/obs-studio/plugins/ - Linux:
~/.config/obs-studio/plugins/ - Restart OBS to load the new plugin.
Windows users can also use the OBS Plugin Manager to simplify this process.
Real Streamer Example: MadiArcade
MadiArcade streams indie horror games. Before using plugins, their stream had simple transitions and no music display. After adding plugins, things changed fast:
- StreamFX added blur and cool overlays
- Move Transition made scene changes smooth
- Tuna showed music info live
- Spectralizer added audio visual effects
The result? Viewer numbers doubled in 30 days. Clips were shared more because the stream looked professional and fun.
MadiArcade said, “Plugins helped me build a stream that feels truly mine — not just a copy of others.”
Final Thoughts
OBS plugins let you improve your stream without spending a lot. They help you add polish, effects, and automation that make your stream stand out.
Streaming isn’t just about gear. It’s about connecting with your viewers and showing your style. Plugins help you do that in a simple way.
Start with a few plugins that match your style and grow from there. Your audience will notice, and your stream will look more professional.
Go ahead and create a unique stream with OBS plugins. Your viewers will thank you!